Showing posts with label tutorial. Show all posts

Wednesday, December 10, 2014

DIY Tutorial for Evite: Tiered Stand


Hello Friends!
I am sharing my newest post that is featured on Evite Gatherings today.  I created a DIY Tiered Stand that can not only hold desserts and holiday decor, but can also act as an organizational station for all of the little things that might be cluttering your office desk or craft room.  With just a few inexpensive materials, you will have a designer-quality tiered stand in no time at all.

Click HERE for the easy tutorial.

Tuesday, May 20, 2014

Four Ways to Frost a Cupcake Using One Tip


I am always looking for easy and creative ways to decorate cupcakes.  I recently found a great tutorial from i am baker using any open star tip.  Who would have thought that you can create four completely different looks with only one tip?

Learn the basic techniques for creating a rosette, fluff, mini flower and tall ruffle HERE.

Wednesday, May 14, 2014

DIY Tutorial: Graduation Cupcake Toppers as featured on Evite


Can you believe that Graduation is around the corner?  Where did this school year go?  It seems like we were celebrating Christmas last week.  I am excited to share with you that our Graduation Cupcake Topper tutorial was featured on Evite today.  If you haven't already heard, Evite has an amazing new blog that includes the latest tips, tricks and advice from party experts.

Our Graduation Cupcake Toppers are so simple to make.  You probably already have a lot of the ingredients in your kitchen to make them.  How fun are they for celebrating graduation?

View the tutorial HERE.

Friday, April 25, 2014

Drink Umbrella Wreath : DIY Tutorial


Are you getting ready for summer parties?  Our colorful drink umbrella wreath is the perfect way to welcome guests and to add a pop of color to your party decor.  I created the wreath for my daughters' birthday parties which you can see all the photos here and here.  The wreath is super fast, super cute and super inexpensive to make. 

What you'll need

Polystyrene or Styrofoam wreath
Package of cocktail umbrellas
Pins, staples or hote glue (optional to attach ribbon)

Directions

1. Insert your umbrellas into the wreath beginning with the inside/center and moving around and outward.  Or you could do the center, then the outside edge and finally place the center umbrellas on top.  The key is to layer the umbrellas to cover any parts of the wreath itself.

2.  Optional: attach a loop of ribbon for hanging using hot glue or pins. 

As always, we would love to hear your comments.

Friday, March 7, 2014

Fun With Tissue Paper

With Spring around the corner there are sure to be lots of parties to get ready for.  I am always looking for creative and expensive ways to create party decor.  Here are some beautiful and fun crafts you can create using tissue paper.  There's more to tissue paper than just using it in a gift bag.

Tissue Paper Confetti ♥ Pen & Paper Flowery

Tissue Wrapped Flower Favors ♥ anna and blue

Tissue Paper Honey Comb Pom-Poms ♥ Mr Printables

Giant Tissue Paper Flower ♥ Design Sponge

   Tissue Paper Wall Art ♥ Mr. Handsomeface

Tissue Paper Flower Centerpiece ♥ anna and blue

Tissue Paper Fans ♥ Oh Happy Day

 Tissue Paper Garland ♥ Ruffled Blog
 

What is your favorite way to use tissue paper?

Monday, December 16, 2013

DIY Tutorial: Tiered Stand + Free Printables


Hello Friends!
Today, I am sharing an easy tutorial on how to create a tiered stand that can not only hold desserts but can also be an organizational stand for all of the little things that might be cluttering your office desk.  With just a few inexpensive materials, you will have a Pottery Barn worthy tiered stand in no time at all.

The DIY Tiered stand is so easy to make and incredibly inexpensive.  It's perfect for displaying holiday decor and sweets.  The stand would also be an excellent piece to keep craft supplies organized and would add a pretty touch to any office or craft room.

Tiered Stand - a DIY Tutorial


Supplies:
  • 3 Wooden Nesting Trays
  • Spindles or Candle Sticks (I used metal candle sticks that unscrewed to create different lengths)
  • Spray Paint
  • Fine Grain Sand Paper
  • All-Purpose Glue
  • Optional - knobs and/or dowel feet


Step 1:
Spray paint all of your materials that will be used for the tiered stand i.e. trays, candlesticks etc.  I recommend at least two coats of spray paint.  Allow to fully dry.


Step 2:
Using your fine grain sand paper, gently sand over any rough patches on your trays until smooth.  To achieve a distressed look, simply sand until some of the natural color of the wood comes through.


Step 3:
If adding legs to your tray, squeeze glue onto the bottom of one of your dowels and place onto the bottom side of your largest tray.  Repeat this step for each dowel leg that you would like to add to your tray.  Set aside to dry.  Once dry, squeeze glue to the bottom of a candlestick/spindle and place in the center of your tray.  Set aside to dry.


Step 4:
Take your middle tray and squeeze glue to the bottom of one candlestick/spindle and place in the center of the top side of the tray.  Squeeze glue to the top of the candlestick/spindle and gently set your last tray on top.  Set aside to dry.


Step 5:
Squeeze glue to adhere knob to the top of the shortest candlestick/spindle.  Once adhered, squeeze glue to the bottom side of the candlestick/spindle and place in the center of the top tray.  Set aside to dry.


Step 6:
Take your largest tray and add glue to the top of the candlestick and gently place the middle and top trays onto the candlestick/spindle.  Set tiered stand aside to dry for 48-72 hours.


Once your tiered tray is completely dry, add holiday decor and desserts.


Click HERE for DIY Holiday Crackers Tutorial

We are offering our Chevron Christmas Tags as a free printable to our readers and fans.
Simply email me at stefanie@annaandblue.com and I will send you the file.

Leave me a comment letting me know your favorite way to display holiday decor.

Wednesday, October 2, 2013

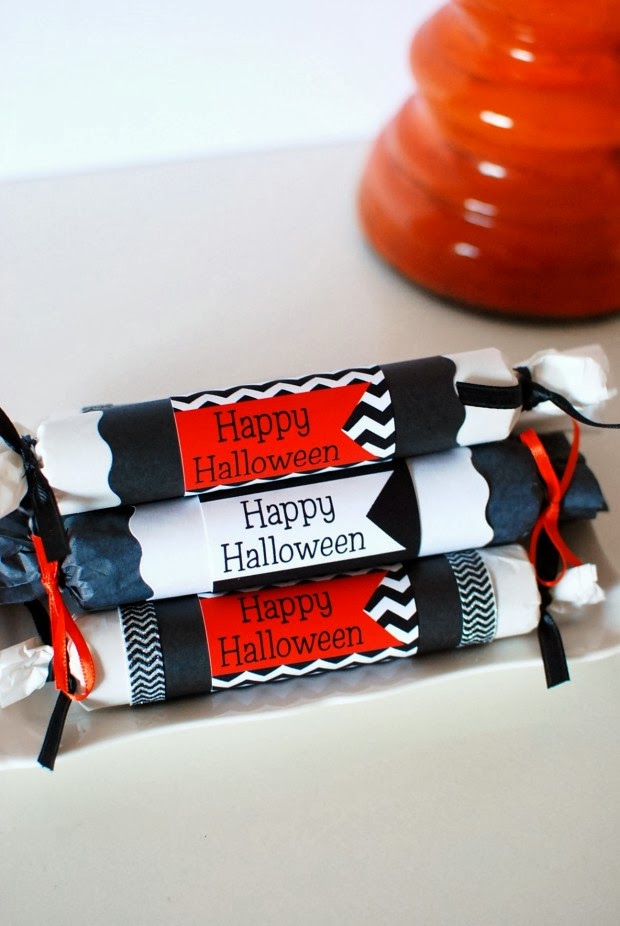
DIY Tutorial: Halloween Crackers + Free Printable Tags


 Yesterday, I shared our Modern Black, White & Chevron Halloween Party with you. Today I have a little Halloween freebie for you from the collection along with a fun tutorial that you can also view on Hostess with the Mostess.  When it came time to create favors for the party, I wanted something that was creative and one that could be enjoyed by children and adults alike.  I decided to create Halloween Crackers that can be filled with your favorite Halloween candy or healthy snacks.  Read on for step-by-step instructions + the free printable: "Happy Halloween" tags below!

Halloween Crackers - A DIY Tutorial


Supplies:
  • Crepe or Tissue Paper
  • Colored or Patterned Paper
  • Scissors
  • Scallop Scissors (optional)
  • Ribbon and/or twine
  • Clear Tape
  • Candy Rolls (Lifesavers), Candy Wafers, Crackers etc.
  • Free Printable Happy Halloween Tags (Click here to download)
Step by Step Instructions:
1. Cut crepe or tissue paper to 8 x 10 inches in size.
2. Take your roll of candy (or equivalent) and place onto 2 pieces of your cut crepe/tissue paper.
3. Roll paper around and tape to keep in place.
4. Tie ends with ribbon or twine.
5. Cut a piece of paper to desired width to place in the middle of your roll.
6. Cut each side of the paper using your scallop scissors to create a pretty edge.
7. Roll paper around and tape to keep in place.
8. Tape a Happy Halloween tag on top for the perfect touch.

Monday, September 16, 2013

DIY Tutorial: Fondant Hearts


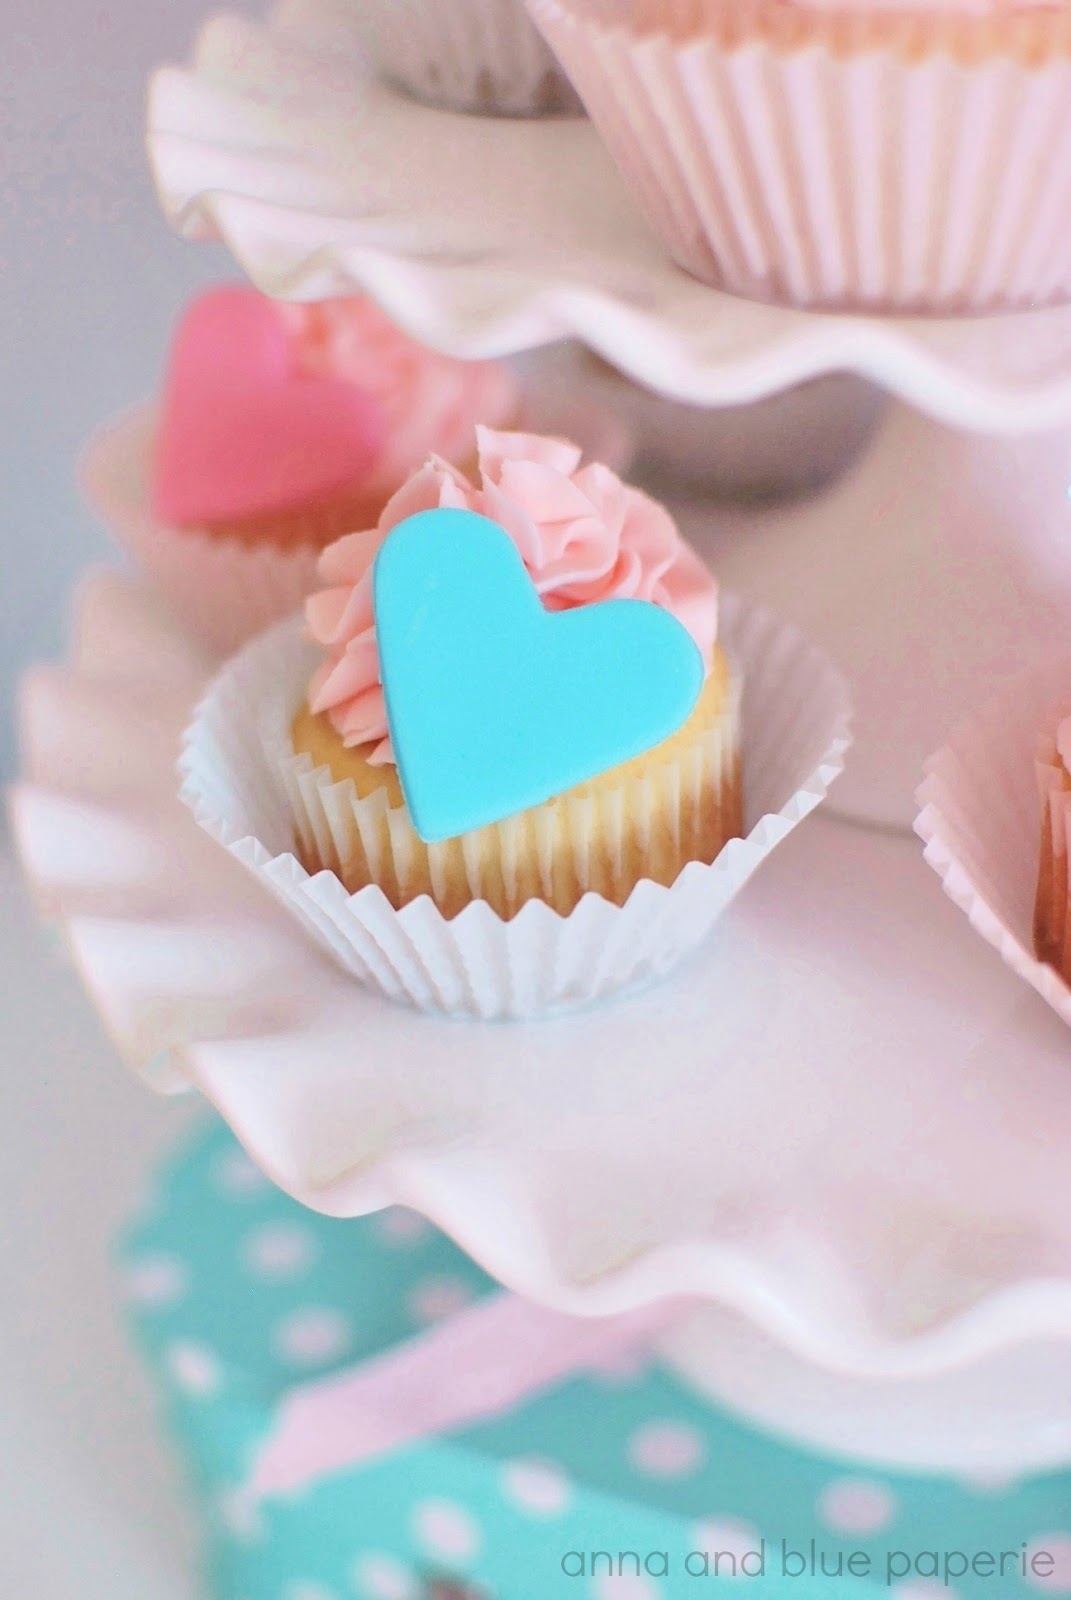
When it came time to creating cupcake toppers for our Pink and Aqua Cupcake Themed Party, I wanted something that was simple tocreate and one that would compliment the rest of the party's decor without being overbearing. I decided to create a DIY Pink and Aqua Fondant Hearts that would match the party's color palette.

You can easily make different fondant shapes for the upcoming Holidays as well. Read on for step-by-step instructions on how to make one yourself!


Supplies:
- Ready-to-use Fondant
- Non-Stick Baking Roller
- Food Coloring
- Mini Cookie Cutters
- Plastic Gloves
- Plate or Parchment Paper


Step 1:
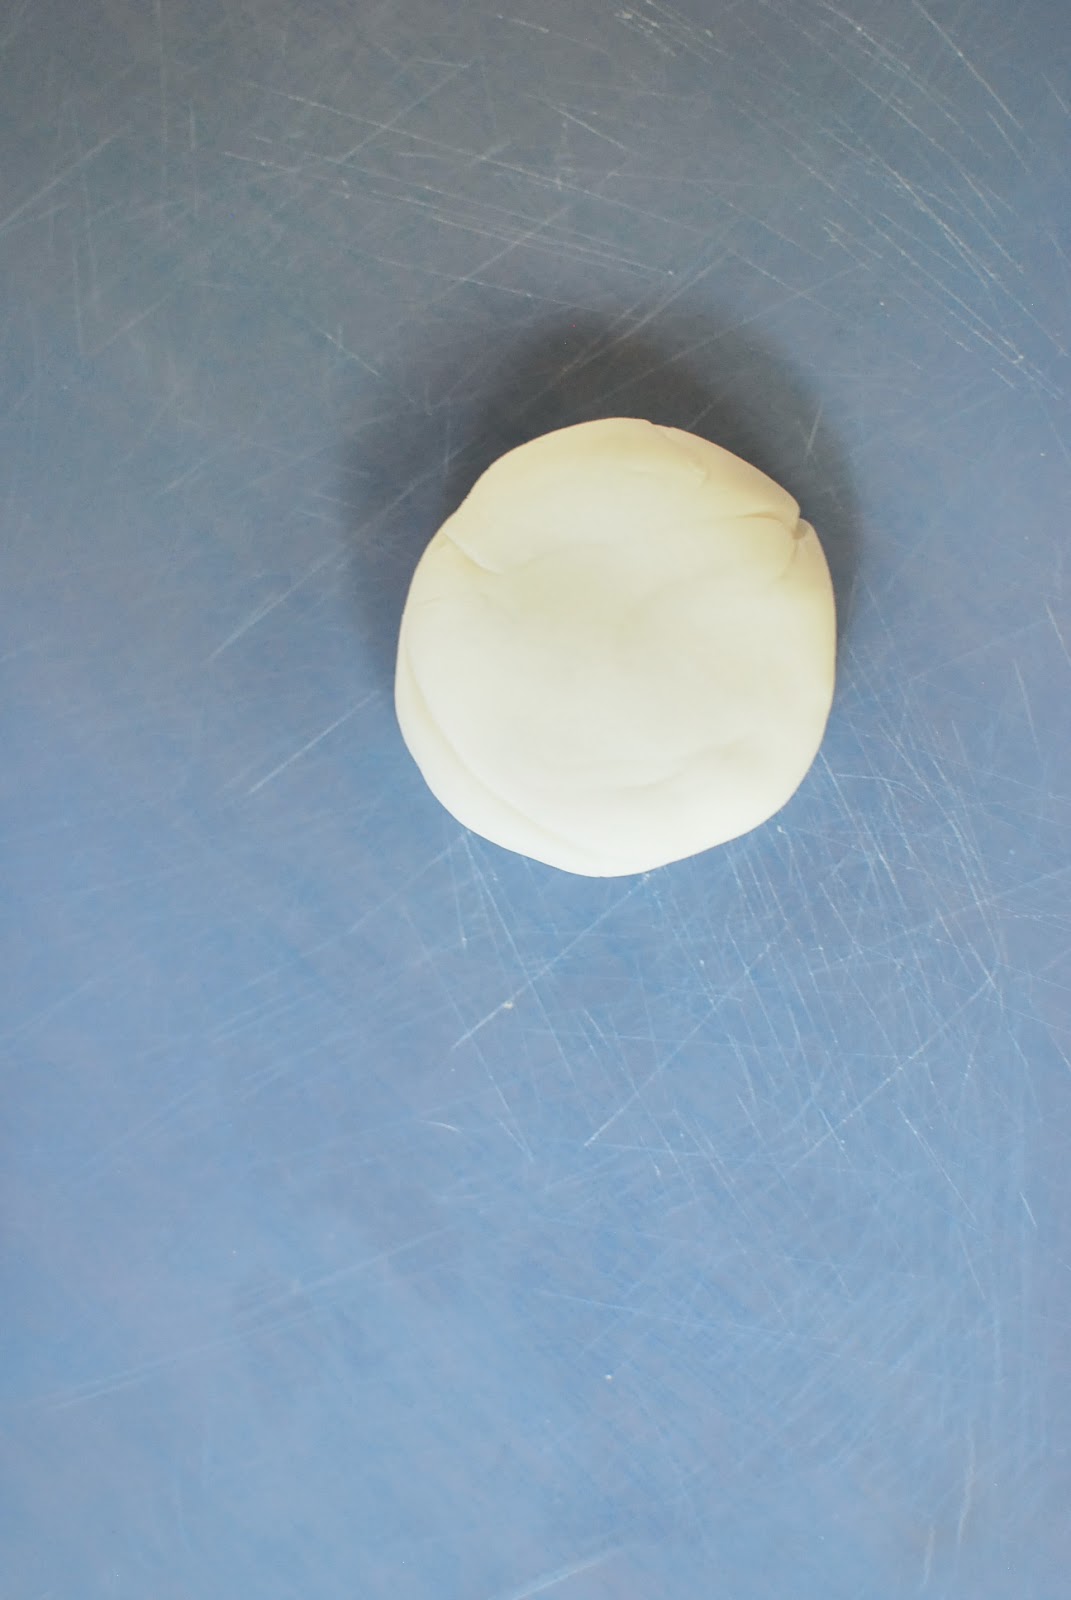
Wearing your gloves, knead the fondant in our hands until it is pliable.  Add a drop of dye to your fondant.


Step 2:
Continue working the fondant in your hands until the color is fully incorporated.


Step 3:
Add another drop of dye (if needed) to achieve your desired color.  Repeat step 2.


Step 4:
Using your roller, gently roll your fondant to desired thickness.


Step 5:
Take a mini cookie cutter and press into your fondant.


Step 6:
Gently remove your shapes and place on a plate or parchment paper to dry for 12-24 hours. Once dry, add your fondant shapes to cupcakes, cakes and more.


Wednesday, August 28, 2013

DIY Tutorial: Cupcake Liner Garland


When it came time to creating a backdrop for our Pink and Aqua Cupcake Themed Party, I wanted something that was simple and one that would compliment the rest of the party's decor without being overbearing. I decided to create a Pom-Pom Cupcake Liner Garland using cupcake liners I already had on hand.

Cupcake Liner Pom-Pom Garlands are easy to create and an inexpensive way to add a beautiful touch to your party decor. They are perfect for decorating dessert tables, birthday parties, cocktail parties and wedding receptions. Read on for step-by-step instructions on how to make one yourself!


Supplies:
- Tray
- Twine or string
- Scissors
- Glue Stick
- Tape


Step 1:
Each pom-pom will require 10 identical liners. For each liner, flatten into a circle.


Step 2:
Fold your liner in half, inside out.  If your liners have scalloped edges, you will need to fold and align them along the same axis for each liner.


Step 3:
Repeat for all of your liners.


Step 4:
Using your glue stick, add glue over half of one liner.


Step 5:
Press your second liner onto the glue side of the first liner and smooth with your finger.


Step 6:
Continue gluing and adding the rest of your liners, smoothing each one with your finger to ensure the liners adhere nicely.


Step 7:
After you have added your 10th liner, lay the pom flat to dry. Repeat steps 1-7 to create the desired numbers of poms.


Step 8:
Once dry, open your pom to the section that was not glued. Place twine or string along the center crease of the pom. Leave desired amount of twine or string on each end of the garland for hanging.


Step 9:
Place two pieces of tape on each end of the pom to keep the string in place.


Step 10:
Using your glue stick, add glue over half of one liner.


Step 11:
Press the two halves of the open segment together. Smooth together with your fingers and let dry.


Step 12:
Repeate steps 8-11 to complete your cupcake liner garland.

Vendor Credits:
Bubblegum Necklace: Queeny Belle Frills
Twine: InTheClear
Related Posts with Thumbnails
 
Pin It button on image hover