Showing posts with label cupcake. Show all posts

Wednesday, February 18, 2015

How To Make Rainbow Cupcakes


This past weekend, we celebrated our girls long awaited Roller Skating Birthday party.  Decor included lots of bright neon colors from their invitations to the glow-stick necklaces their friends were greeted with when they arrived at the Roller Skating Rink. When I asked the girls what kind of cake they wanted, they both shouted that they would like rainbow cupcakes.  My first thought was to make cupcakes and have each one decorated with a different color icing to match the colors of the party.  But, I decided to go one step further.  I thought to myself how fun it would be to make the actual cupcakes in different colors.  What I ended up doing was so incredibly easy and it didn't take much more time than creating regular cupcakes.  Would you believe me if I told you that I made the cupcakes using store bought cake mix?  Everyone at the party thought they were professionally made.  Scroll down to see how I made the colorful cupcakes.


We were expecting around 35 kiddos at the party so I went ahead and mixed up two boxes of store bought cake mix.  I chose Betty Crocker SuperMoist White Cake Mix.  I separated the cake batter into four equal parts into four bowls.  To color the batter, we used McCormicks Assorted Neon! Food Colors that came in purple, green, pink and blue.  We then added a couple of drops of food color to each bowl until the desired color shade was created.  We then added the batter to the cupcake liners in the baking pans.  We added a little green batter, followed by a little purple, followed by a little pink and topped the batter with a little blue.  Then, they were ready to bake. 


For the icing, I chose to do a simple white topped with colorful sprinkles.  I always use Glorious Treats' American Buttercream Frosting recipe because it is easy to make and simply delicious. By using a white icing, it allowed the colors of the cupcakes and sprinkles to pop.  How AMAZING did the cupcakes turn out?


Enjoy!

Tuesday, May 20, 2014

Four Ways to Frost a Cupcake Using One Tip


I am always looking for easy and creative ways to decorate cupcakes.  I recently found a great tutorial from i am baker using any open star tip.  Who would have thought that you can create four completely different looks with only one tip?

Learn the basic techniques for creating a rosette, fluff, mini flower and tall ruffle HERE.

Wednesday, May 14, 2014

DIY Tutorial: Graduation Cupcake Toppers as featured on Evite


Can you believe that Graduation is around the corner?  Where did this school year go?  It seems like we were celebrating Christmas last week.  I am excited to share with you that our Graduation Cupcake Topper tutorial was featured on Evite today.  If you haven't already heard, Evite has an amazing new blog that includes the latest tips, tricks and advice from party experts.

Our Graduation Cupcake Toppers are so simple to make.  You probably already have a lot of the ingredients in your kitchen to make them.  How fun are they for celebrating graduation?

View the tutorial HERE.

Monday, September 16, 2013

DIY Tutorial: Fondant Hearts


When it came time to creating cupcake toppers for our Pink and Aqua Cupcake Themed Party, I wanted something that was simple tocreate and one that would compliment the rest of the party's decor without being overbearing. I decided to create a DIY Pink and Aqua Fondant Hearts that would match the party's color palette.

You can easily make different fondant shapes for the upcoming Holidays as well. Read on for step-by-step instructions on how to make one yourself!


Supplies:
- Ready-to-use Fondant
- Non-Stick Baking Roller
- Food Coloring
- Mini Cookie Cutters
- Plastic Gloves
- Plate or Parchment Paper


Step 1:
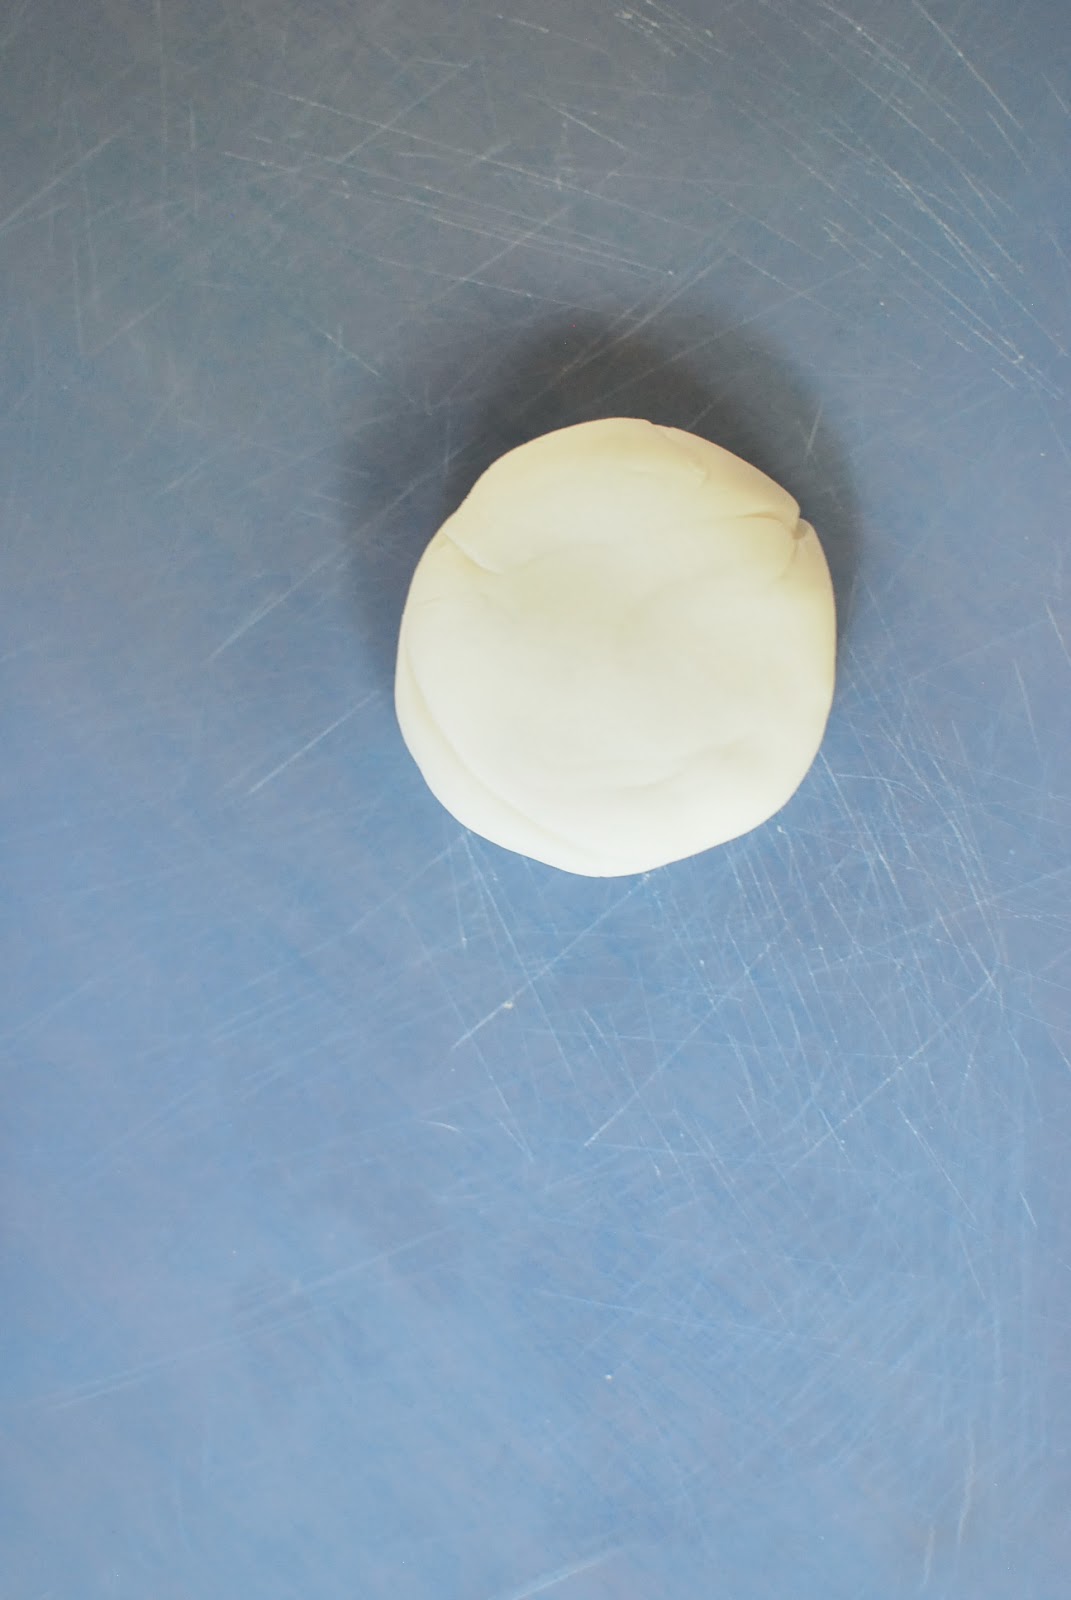
Wearing your gloves, knead the fondant in our hands until it is pliable.  Add a drop of dye to your fondant.


Step 2:
Continue working the fondant in your hands until the color is fully incorporated.


Step 3:
Add another drop of dye (if needed) to achieve your desired color.  Repeat step 2.


Step 4:
Using your roller, gently roll your fondant to desired thickness.


Step 5:
Take a mini cookie cutter and press into your fondant.


Step 6:
Gently remove your shapes and place on a plate or parchment paper to dry for 12-24 hours. Once dry, add your fondant shapes to cupcakes, cakes and more.


Monday, August 26, 2013

Pink and Aqua Cupcake Theme Party


Who doesn't love cupcake right?  I am excited to share my latest post for Hostess with the Mostess. Grab a cupcake, add some sprinkles and let our Pink and Aqua Cupcake Theme Party inspire you to create your own cupcake themed party!  Enjoy all the party details below.

Party Highlights, to look out for:
- Pink marshmallow petit fours
- Shimmering iridescent jewel Jelly Belly jelly beans
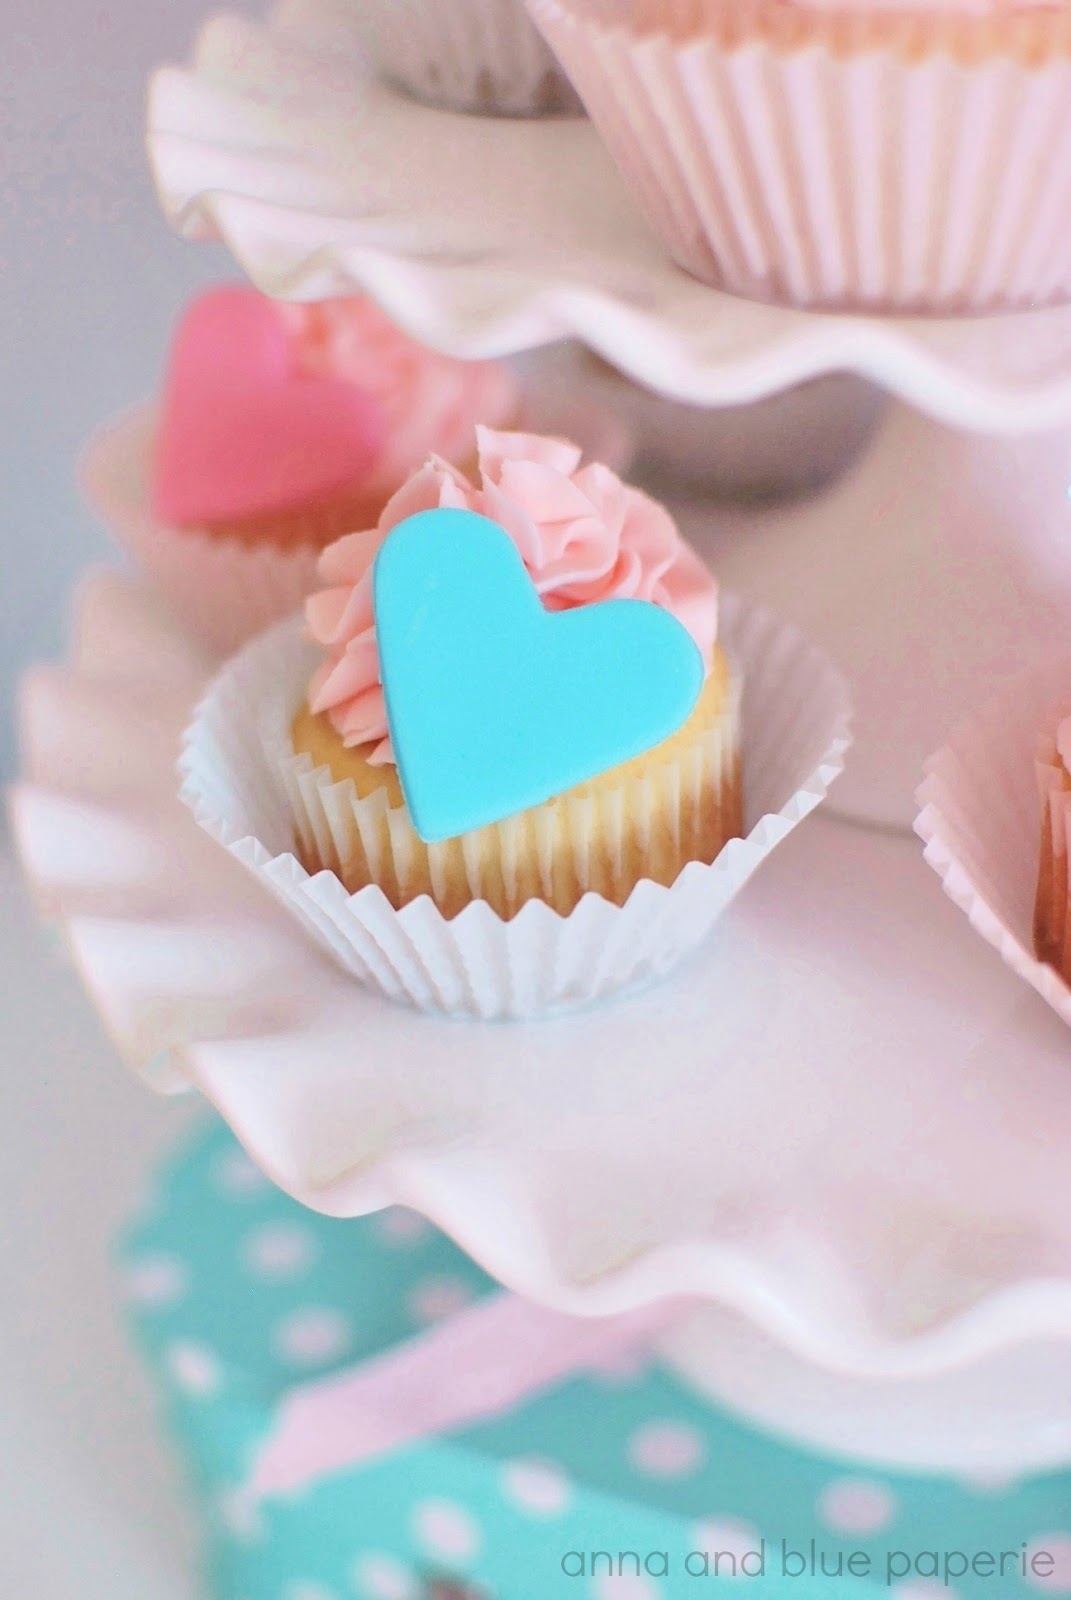
- Pink and blue fondant heart cupcake toppers


Cupcake in the party's color scheme were used throughout the party decor from the printables to the actual desserts with the dessert table's backdrop consisting of a garland created from cupcake liners. A fun polka dot pattern was incorporated in the designs to add a fun touch to the party decor.

The dessert centerpiece consisted of tiered ruffled cake stands filled with pink cupcakes embellished with fondant hearts.  The last tier was topped with a pink mini cupcake stand adorned with a miniature cupcake sugar cookie.  Large pink and aqua sugar cookies in the shape of cupcakes from Charlie's Cakes and Cookies matched the party's color palette perfectly. Additional sweets for the dessert table include vanilla cake balls from Sweet Treets Bakery, shimmering Jelly Belly jelly beans and marshmallow petit fours. Aqua candy boxes from Shop Sweet Lulu tied with matching cupcake favor tags made for a sweet take home treat.
*****

 VENDOR CREDITS:

– Styling and Printables: anna and blue paperie
– Cupcake Cookies: Charlie’s Cakes and Cookies
– Jelly Beans: Jelly Belly Jewel Collection
– Cake Balls: Sweet Treets Bakery
– Aqua Favor Boxes: Shop Sweet Lulu
– Paper Straws: InTheClear  
– Square Milk Bottles: 3 Sweet Memories
– Bubblegum Necklace: Queeny Belle Frills
– Pink Apron: Target
– Ruffled Cake Stands: Pier 1 Imports
– Pink Mini Cupcake Stand: The Papered Nest
– Aqua Polka Dot Suitcase: HomeGoods


The Pink and Aqua Cupcake Party collection is on sale for 50% off through 9.1.13.
Purchase the collection in our SHOP.

Monday, July 15, 2013

Easy Cupcake Icing Tutorials

We're celebrating my daughter Annabelle's 7th birthday on Wednesday.  She requested that I make cupcakes instead of a cake for her birthday which means that I need to go to my cupcake icing chart for reference. If you are like me, I tend to forget which tip creates what style of frosting so I thought it would be fun to put a couple of my favorite "go to" tutorials in one post for easy reference.  


Do you have a favorite tip?  Leave a comment letting us know.

Thursday, May 30, 2013

DIY Tutorial: Graduation Cupcakes


Congratulations 2013 graduates!  Celebrate with our fun graduation cupcakes.

Cupcakes with Graduation Caps and Diplomas!


What You'll Need:

Cupcakes with icing
Red hots or m&ms
Square chocolate cookies
Fruit rollop or similar gummy strips cut into thin strips and 1 1/2 inches long
Waffle cookies or Oreo Funstix cut into 1 1/2-2  inch pieces
Reese's Mini Peanut Butter Cups
Decorating Gel or similar

Step 1:

Add your Reese's Mini Peanut Butter Cup with the large side onto the icing.

Step 2:

Turn your cookie upside down, and add a touch of your icing gel to the middle of the cookie.

Step 3:

 Place cookie on top of the peanut butter cup so that the gel is aligned with the candy.
Refridgerate for a few minutes to let it set.

Step 4:

Add a touch of icing gel to two gummy strips and place in the middle of your cookie.

Step 5:

Add a touch of icing to the top of the gummy strips and add a Red Hot or m&m.

Your cupcake should look something like this.
Place in the refrigerator for a few minutes to let the gel set.

Step 6:

Add a gummy strip and wrap it around the waffle cookie and press into place.

Step 7:

Place waffle cookie on your cupcake and add a fun cupcake liner if you like.

Voila!


This cupcake stand can be found HERE. 
Change the ribbon to match the color palette for your celebration!

Click HERE for many more graduation party ideas.

Looking for a great graduation gift?  Our personalized note cards would be perfect!

 Shop custom stationery in HERE.
Related Posts with Thumbnails
 
Pin It button on image hover