Showing posts with label macaron. Show all posts

Wednesday, April 18, 2012

{Recipe} Cherry Blossom Macarons from Cannelle et Vanille


I have wanted to post this recipe for a long time but wanted to wait until now with it being Spring with the flowers in bloom.  Aran Goyoaga of Cannelle Et Vanille took inspiration from nature, specifically cherry blossoms when creating this macaron recipe for Martha Stewart Weddings.  Aran works as a freelance food stylist, photographer, and writer.  She creates delicious recipes and captures stunning photos on her award-winning blog Cannelle Et Vanille (that's "Cinnamon and Vanilla" in French). Scroll down to view Aran's Cherry Blossom Macaron recipe so you too can make these macaron beauties!


Makes about 4 dozen small macarons
Note: Make three batches of this recipe, and color each with a different shade. Use bright pink, pale pink, and copper colors.

MACARON SHELLS
180 grams almond flour
240 grams powdered sugar
140 grams egg whites
3 grams egg white powder
2 grams of finely ground sea salt
80 grams granulated sugar
Few drops of food coloring

In a large bowl, sift together the almond flour, powdered sugar, and salt. Set aside.
In the bowl of an electric mixer, add the egg white and the egg white powder. Whip on medium speed until egg whites start to increase in volume.
When the egg whites are almost fully whipped and very fluffy, slowly start sprinkling in the sugar. After all the sugar is incorporated, whip the meringue on high speed until stiff peaks have formed. Then add the food coloring.
Add the dry ingredients to the meringue and, with a spatula, fold the meringue into the dry ingredients. This is called “macaroner.” It is better to fold slowly and test a couple of macarons because it is possible to over fold this mixture. You want a shiny mass. For this amount of ingredients, I would say that it will only take about 10 to 15 strokes. But again, it is better to check for consistency. You are looking for a mass that spreads a little but not too much, otherwise the macarons will be flat.
Pipe the mass onto half sheet pans lined with silpats. Let them sit at room temperature for about 30 minutes to dry. You want the tops not to stick to your finger when you touch them. This will ensure a crack-free macaron.
Have your oven preheated at 350 degrees. Bake one sheet pan at a time positioning it in a middle rack. Turn oven to 300 degrees. Bake for about 8 minutes and rotate sheet pan to ensure even baking. It should take about 14 minutes, but that depends on the oven. You want to be able to pick up the macaroon without it falling apart, but you don’t want to over bake it either. It is better to bake it slowly so no browning occurs.
Remove them from the oven and slide the silpat onto a cold surface. Let them cool on the silpat.

BUTTERCREAM FILLING
Note: Flavor the buttercream for the pink macarons with cherry blossom extract and the copper ones with cocoa powder.
100 grams of egg whites
200 grams of granulated sugar
300 grams of room temperature unsalted butter
flavoring (cherry blossom extract and sifted cocoa powder)
In the bowl of an electric mixer, lightly whisk together egg whites and sugar. Place over a water bath until sugar is dissolved and the mixture is warm to the touch, shiny, and very fluffy. Bring bowl to the electric mixer and whip, adding a tablespoon of butter at a time, until stiff peaks form. Make sure the meringue has cooled to room temperature. Then add the flavoring and mix until incorporated.
Pipe a teaspoon of the buttercream on a macaron and top with another one that is similar size.

Friday, February 10, 2012

{Tutorial} Valentine Heart Macarons


You might remember back in December when I posted a recipe for these stunning Peppermint Macarons from Stacy Able.  Stacy was so kind to create the perfect Valentine's Day dessert recipe for our readers.  You know how much I LOVE macarons and I nearly fell off my chair when I saw what Stacy created.  Not only are they macarons but little heart shaped macarons! I can't wait to share her recipe with you....

Stacy Able Photography’s
Valentine's Day Heart Macaron Recipe


200g almond flour
200g powdered sugar
80g egg whites
80g egg whites
200g regular sugar
80 ml water
1 vanilla bean pod, seeds scraped out
 red food coloring

Heat oven to 355F
Separate egg whites ensuring there is absolutely no egg yolk. You may set the egg whites aside for 2-3 days in a refrigerator to “age”.
Measure out egg whites into two small containers with 80g in each.
Measure out almond flour and powdered sugar; add to food processor or spice grinder and pulse. Once the sugar and almond flour is a fine texture, sift 2 times; add the vanilla seed scrapings, red food coloring, and 80g of egg white, set aside. For a pale pink add a few drops of red for a super red cookie you'll need to use at least 15g of dye.
Cook sugar with water in a pot over medium heat with candy thermometer. Gently swirl the water and sugar a few times so it cooks evenly. When the temperature reaches 230F take the pot off the oven.
While sugar is cooking, Begin whipping the other 80g of egg whites with stand or hand held mixer. When eggs are in a soft peak drizzle the 230F hot sugar syrup down the bowl in a thin stream and continue beating until you get a firm, shiny meringue.
Pour half of the almond/powered sugar ingredients into meringue and stir ensuring you scrape the sides and bottom. Add the second half and stir. Note: do not over stir. You want the batter to look like a thick magma that when dropped in the bowl slowly absorbs into batter. Over stirring creates flat, pancake, cracked cookies.


Place parchment on a cookie sheet and trace 1 inch circles on the parchment then flip the parchment as you do not want pen marks on the cookie.
In a pastry bag use a plain round tip and pipe out heart shape cookies on your parchment. It may take some practice, but if you start with one circle, pipe down, then another circle down to the tip you'll create "heart shapes".


Once you have your hearts piped, firmly hold the cookie sheet and rap the sheet against a counter a couple times. This is done to help form the foot/pied bottom of the macaron.
Let the dough sit for 15-30 minutes to form a soft non sticky shell.
Place in oven for 11 minutes and put a wooden spoon or chopstick in the door to let some heat escape. Note- this will produce a slightly chewy Macaron which is traditional without browning the cookie. If you’d like them done slightly more you can cook at 300 for 20-25 minutes.
Once cookies are done, pull them out of the oven and let them cool. Do not remove from parchment until cool as they may stick. Pull up the corner and gently peel from the Macaron or use a metal spatula to gently remove shells.
To complete the cookie, make a simple butter cream and add a few drops of flavoring. Spoon icing onto macaron shell and gently press the two sides together.
Macaron shells will last 3-4 days if left on the counter. If unfilled you can freeze the cookies then thaw and fill for an instant glamorous treat.


All photos by Stacy Able Photography

A VERY special thank you to Stacy for sharing this fabulous tutorial with us.  Thank you also to Blair Lauer for assisting Stacy with this tutorial.

Wouldn't these little pretties make the perfect addition to a romantic Valentine's Day dinner for your sweetie? 

Friday, December 23, 2011

{Tutorial} Peppermint Macarons


A few days ago, I put together ideas for planning a Pretty Peppermint Party.  One of desserts I found were these fabulous Peppermint Macarons I spotted on Studio DIY.  As you know, I LOVE macarons and have been on the quest to find an easy step-by-step tutorial.  What better time than to try and create macarons for holiday parties?  I wanted to see if I could find out who the creator behind the beautiful treats was.  I came to find out the stunning photos of the macarons is also the creator of the gorgeous macarons.  Stacy Able is not only a fantastic photographer, but she has quite the passion for making macarons.  Stacy is sharing her Peppermint Macarons today and I hope you enjoy them as much as I do.  Wouldn't they make the perfect gift wrapped in pretty paper packing for the holidays?

Peppermint Vanilla Bean Macaron Recipe

Ingredients
200g almond flour
200g powdered sugar
80g egg whites
80g egg whites
200g regular sugar
80 ml water
1 vanilla bean pod, seeds scraped out
2-3 drops of peppermint extract
Red food coloring (optional)
Crushed Candy Canes (optional, for finishing)

Directions

Heat oven to 355F
Separate egg whites ensuring there is absolutely no egg yolk. You may set the egg whites aside for 2-3 days in a refrigerator to “age”.
Measure out egg whites into two small containers with 80g in each.


Measure out almond flour and powdered sugar; add to food processer or spice grinder and pulse. Once the sugar and almond flour is a fine texture, sift 2 times; add
the vanilla seed scrapings, peppermint extract, and 80g of egg white, set aside.


Cook sugar with water in a pot over medium heat with candy thermometer. Gently swirl the water and sugar a few times so it cooks evenly. When the temperature reaches 230F take the pot off the oven.
While sugar is cooking, Begin whipping the other 80g of egg whites with stand or hand held mixer. When eggs are in a soft peak drizzle the 230F hot sugar syrup down the bowl in a thin stream and continue beating until you get a firm, shiny meringue.


Pour half of the almond/powered sugar ingredients into meringue and stir ensuring you scrape the sides and bottom. Add the second half and stir. Note: do not over stir. You want the batter to look like a thick magma that when dropped in the bowl slowly absorbs into batter. Over stirring creates flat, pancake, cracked cookies.
Place parchment on a cookie sheet and trace 1 inch circles on the parchment then flip the parchment as you do not want pen marks on the cookie.


In a pastry bag use a plain round tip and pipe out circles on your parchment. You can create swirled color by adding a few drops down the side of the pastry bag or a solid color by adding a few drops of color while mixing the egg white/almond/sugar ingredients. Once you have your circles piped, firmly hold the cookie sheet and rap the sheet against a counter a couple times. This is done to help form the foot/pied bottom of the macaron.


Let the dough sit for 15-30 minutes to form a soft non sticky shell.
Place in oven for 11 minutes and put a wooden spoon or chopstick in the door to let some heat escape. Note- this will produce a slightly chewy Macaron which is traditional without browning the cookie. If you’d like them done slightly more you can cook at 300 for 20-25 minutes.
Once cookies are done, pull them out of the oven and let them cool. Do not remove from parchment until cool as they may stick. Pull up the corner and gently peel from the Macaron or use a metal spatula to gently remove shells.
To complete the cookie, make a simple butter cream and add a few drops of flavoring. For this recipe, we used a few drops of peppermint extract. Spoon icing onto macaron shell and gently press the two sides together.


Roll the cookie into crushed candy canes.


Macaron shells will last 3-4 days if left on the counter. If unfilled you can freeze the cookies then thaw and fill for an instant glamorous treat.


All Photos by Stacy Able Photography

Thanks so much Stacy for sharing your Peppermint Macaron recipe and tutorial.  I cannot wait to try the recipe and I know the macarons will be a hit at our next party!  I hope that everyone will enjoy making the French treats!

Friday, February 4, 2011

{Inspiration} Heartfelt Valentine Sweets

Valentine's Day is just a few short days away.  If you are looking for sweet ideas for desserts, I hope that these heart inspired treats will inspire you. Anyone is sure to love them!

Sweetheart Pops


Heart Cake


Heartfelt Cookies

 via Delish

Heart Rice Crispies


Heart Cookie Bouquets


Chocolate Heart Donuts


Hot Cocoa with Heart Marshmallows


Raspberry Heart Meringues


Red Velvet Heart Macarons


Sweetheart Cupcakes


Thursday, December 9, 2010

{Fabulous Favorite} Call Me Cupcake

Photobucket

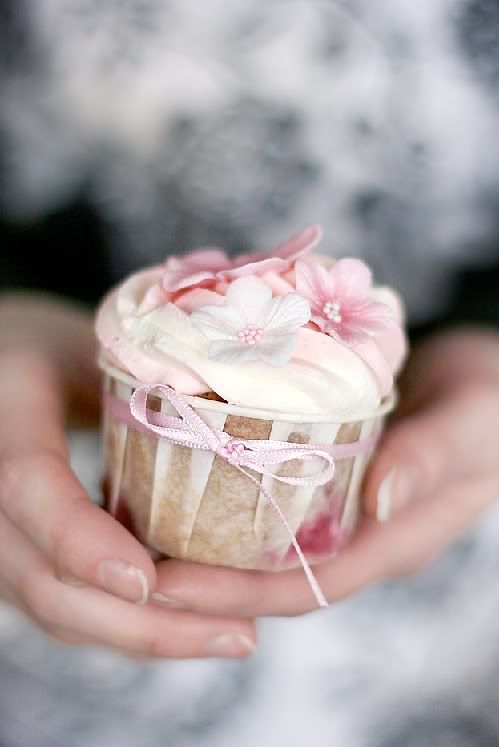
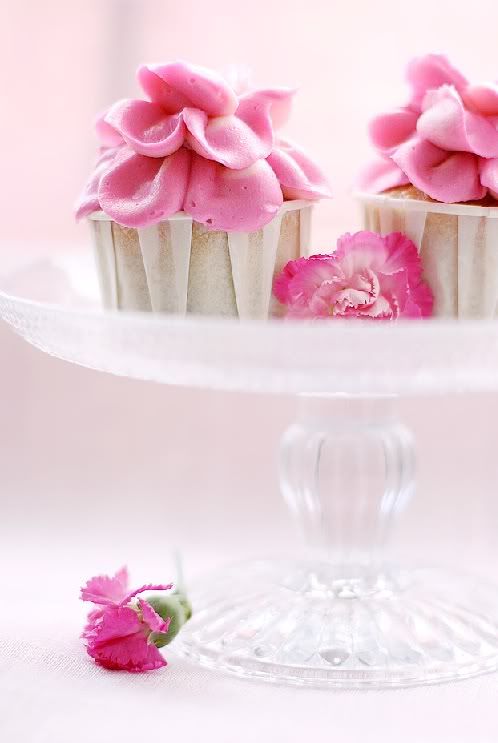
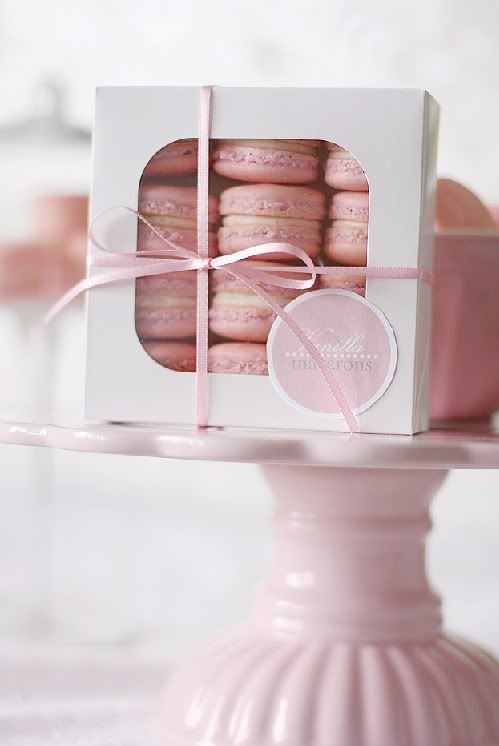
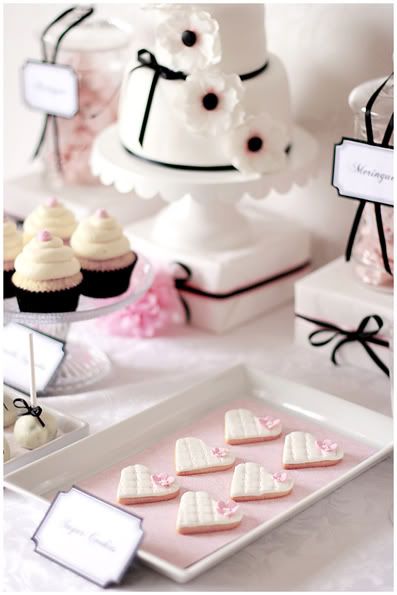
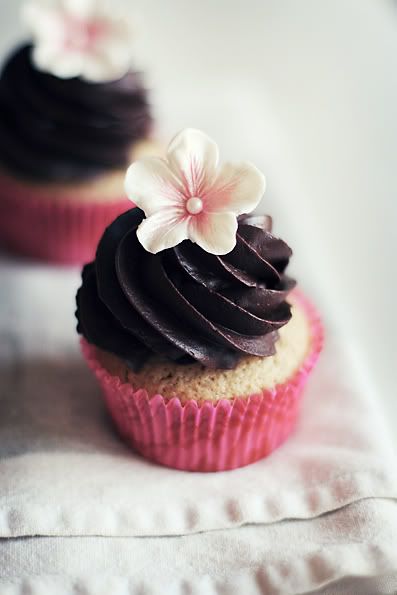
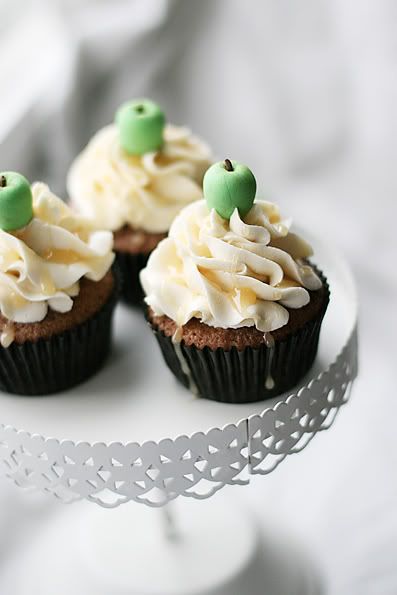
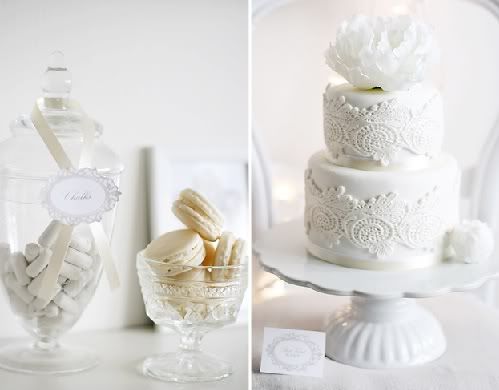
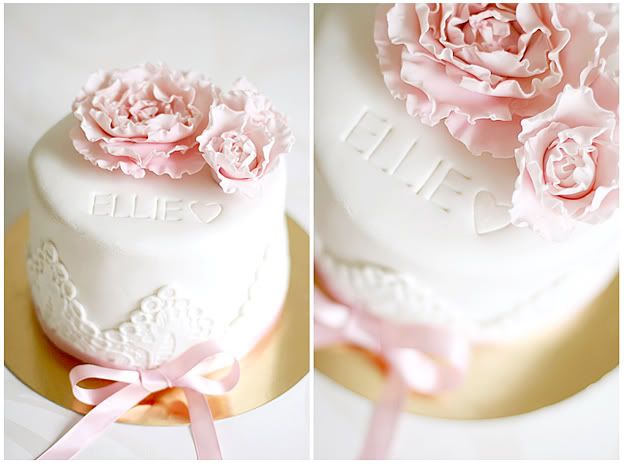
I was looking online for desserts recently and came across some of the most amazing cupcakes, cakes and macaroons I have ever seen. They were truly heavenly! When I went to the website, I learned that these beautiful desserts were made by Linda of Call Me Cupcake. I found myself looking at her blog for the longest time admiring her desserts. The lovely pictures are so vivid that I literally felt like I could grab it through my computer and taste the desserts. Oh, how I wish! I kept going back to Linda's blog to visit and decided that I needed to learn more about Call Me Cupcake especially with my sweet tooth. I emailed with Linda and learned that she lives in Sweden. With my family living in Europe, I dream to taste one of her sweets one day during one of my visits back. In the meantime, I wanted to share with you my chat with Linda and share her gorgeous desserts with you.

Photobucket

Photobucket

Linda is 25 and lives in Halmstad, Sweden with her fiancé.

How did you get started making sweet treats?
"I've always enjoyed baking, but one day last summer I made some cupcakes and then I was stuck! I realized that cupcakes are relatively new and fashionable in Sweden and that people here were crazy about them. I created a blog, but it was not something I intended to be serious with. However, as time went by, I realized that this was what I really wanted to do in life.
I got requests from friends to make cupcakes for them, and in February this year a friend asked me to make a cake. I had never made a cake before so it was a bit intimidating at first, but after that I realized how much fun it was."

Photobucket

Photobucket

Do you have a store in Halmstad?
"Actually, I don't have a store yet.. a lot of people ask me why, but I just don't want to rush into anything. It is my dream to have one though!"

Photobucket

What inspires you when creating your desserts?
"The internet is a great source for inspirations when I create desserts, mostly Flickr. And of course, magazines and books too. But sometimes an idea just pops into my head! I usually improvise a lot when decorating cakes and cupcakes."

Photobucket

What is your favorite dessert?
"If I would have to choose my favorite dessert it would have to be macarons, especially the ones I made with chocolate/seasalt and coffee cardamom! But there are also many Swedish pastries that I love because they are simple and delicious, such as the "kanelbulle" (cinnamon bun)."

Photobucket

Photobucket
I just learned that Linda will be participating in the European Sweet Table Contest. Wishing her the best of luck. She is going to "wow" them with how talented she is!

Thanks again sweet Linda and I hope to visit the Call Me Cupcake store when it opens one day!

Visit Linda's blog HERE!
Related Posts with Thumbnails
 
Pin It button on image hover